Understanding Statistical Process Control: A Practical Guide to Control Charts
December 17, 2025Learn how control charts help manufacturers detect process variation, prevent defects, and maintain statistical control with real-time SPC software solutions.
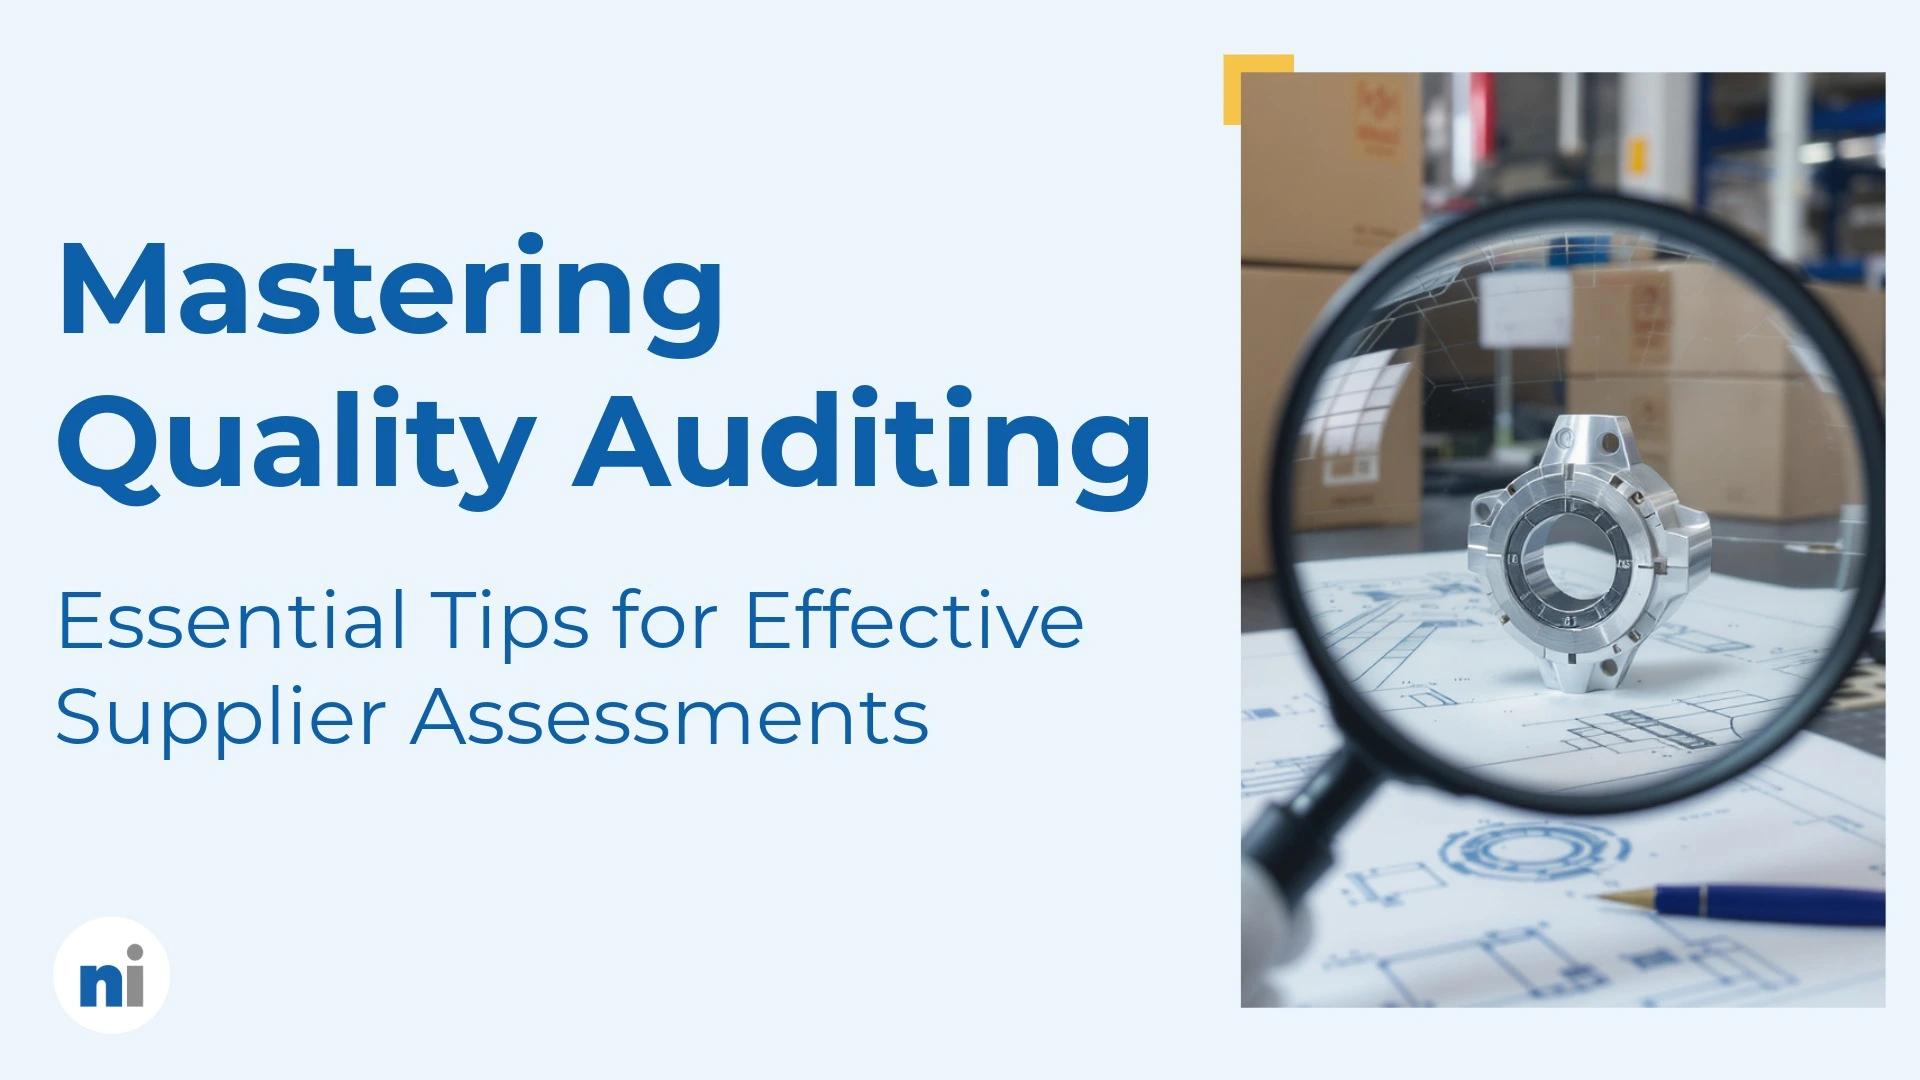
Mastering Quality Auditing: Essential Tips for Effective Supplier Assessments
November 26, 2025Master supplier audits with expert strategies for effective assessments, risk management, and compliance. Build a stronger, connected quality management system.
How to Meet IATF 16949 Requirements for Automotive Suppliers
November 4, 2025Discover the key steps to achieve IATF certification in the automotive industry. Enhance your knowledge and drive quality improvements.
3 Ways Future-Ready Aerospace Manufacturers Are Transforming Quality Management
October 20, 2025Discover how leading aerospace manufacturers are building confidence, driving efficiency, and creating resilience through digital quality transformation. Learn the proven strategies transforming the industry.
Common Supplier Deviation Challenges: The Hidden Costs of Manual Processes in Manufacturing
October 3, 2025Discover the top supplier deviation problems facing aerospace and manufacturing companies. Learn how email-based processes create bottlenecks and what solutions exist for better supplier quality management.
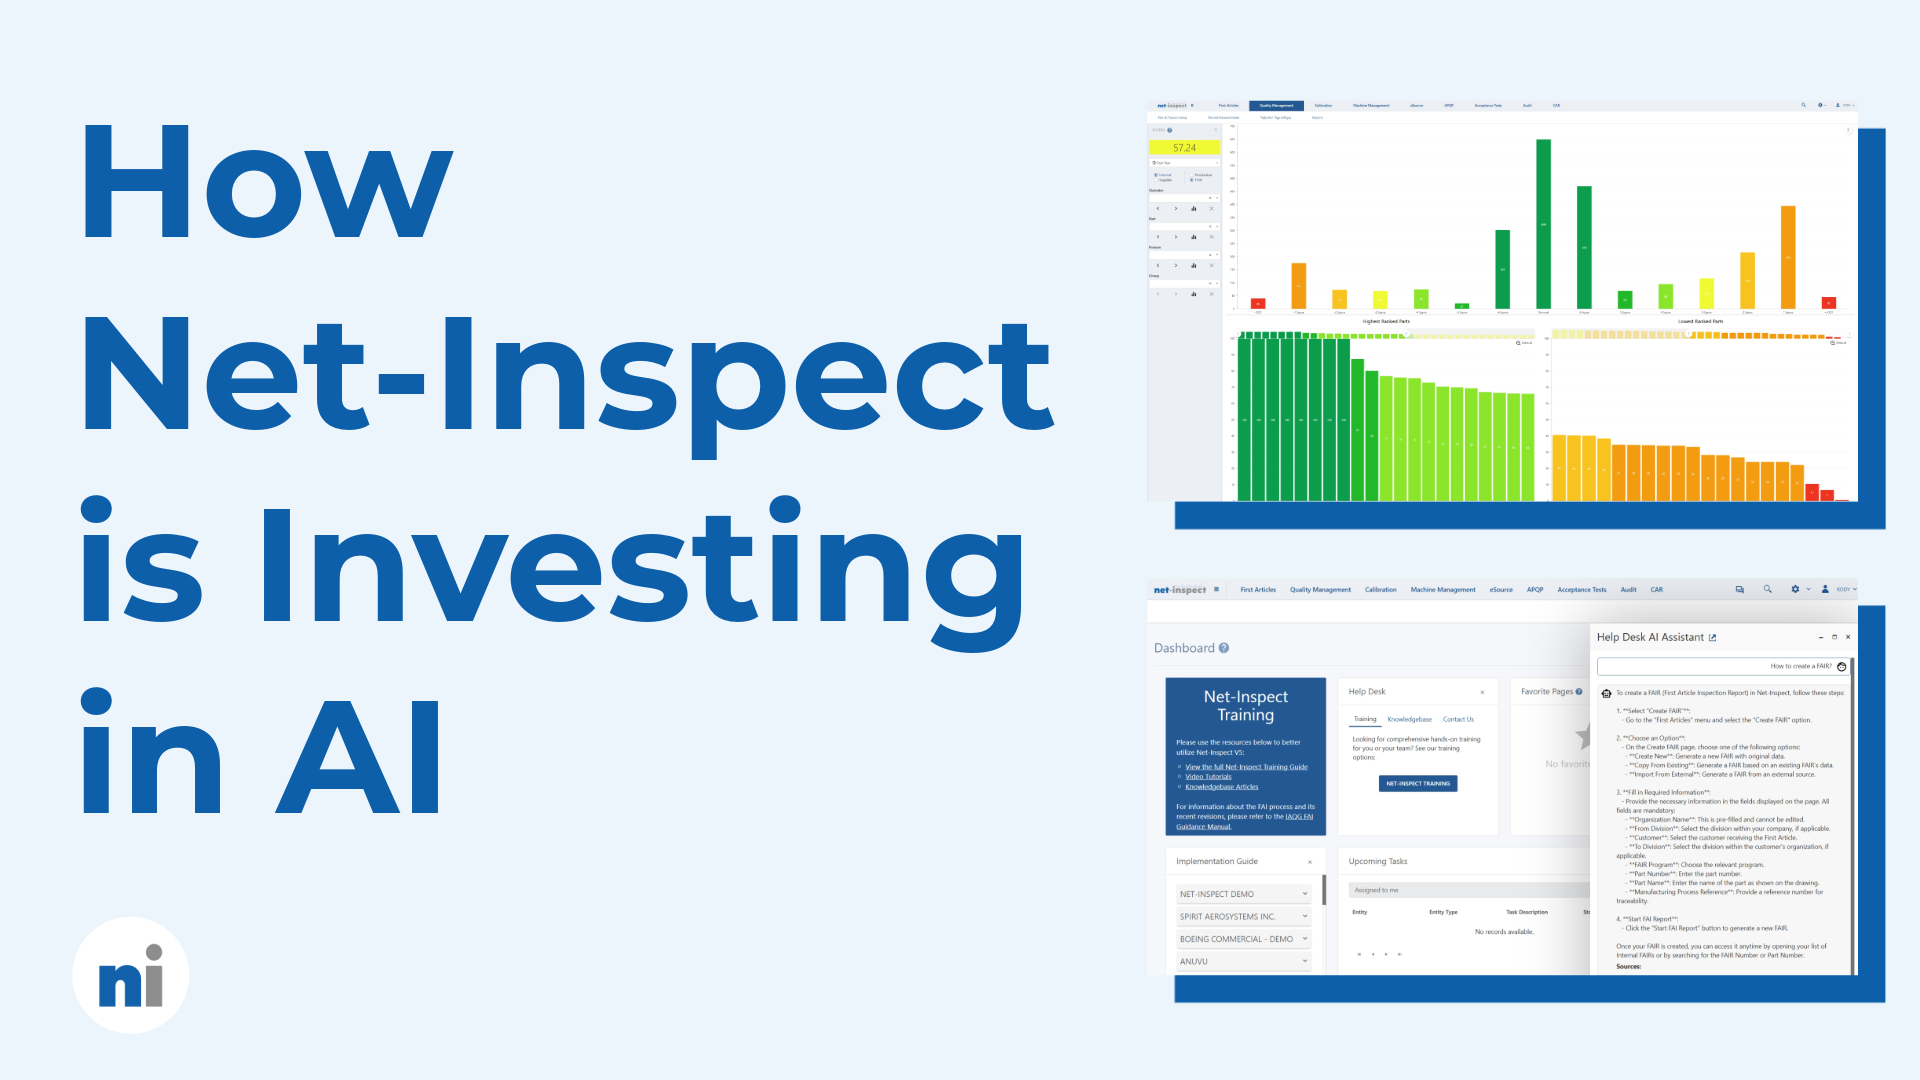
Net-Inspect's Strategic Investments into The Future of Manufacturing Quality
June 2, 2025Discover how Net-Inspect is strategically investing in AI across key areas to make quality and supply chain management smarter, faster, and more predictive.
Benefits of Moving to a SaaS APQP/PPAP Solution vs an Excel-based Solution
December 1, 2023Learn more about benefits of moving to a SaaS APQP/PPAP Solution vs an Excel-based Solution
Difference Between APQP and PPAP
October 27, 2023Learn differences between APQP and PPAP
What is an APQP Checklist?
September 15, 2023Learn how to track the completion of Advanced Product Quality Planning tasks.
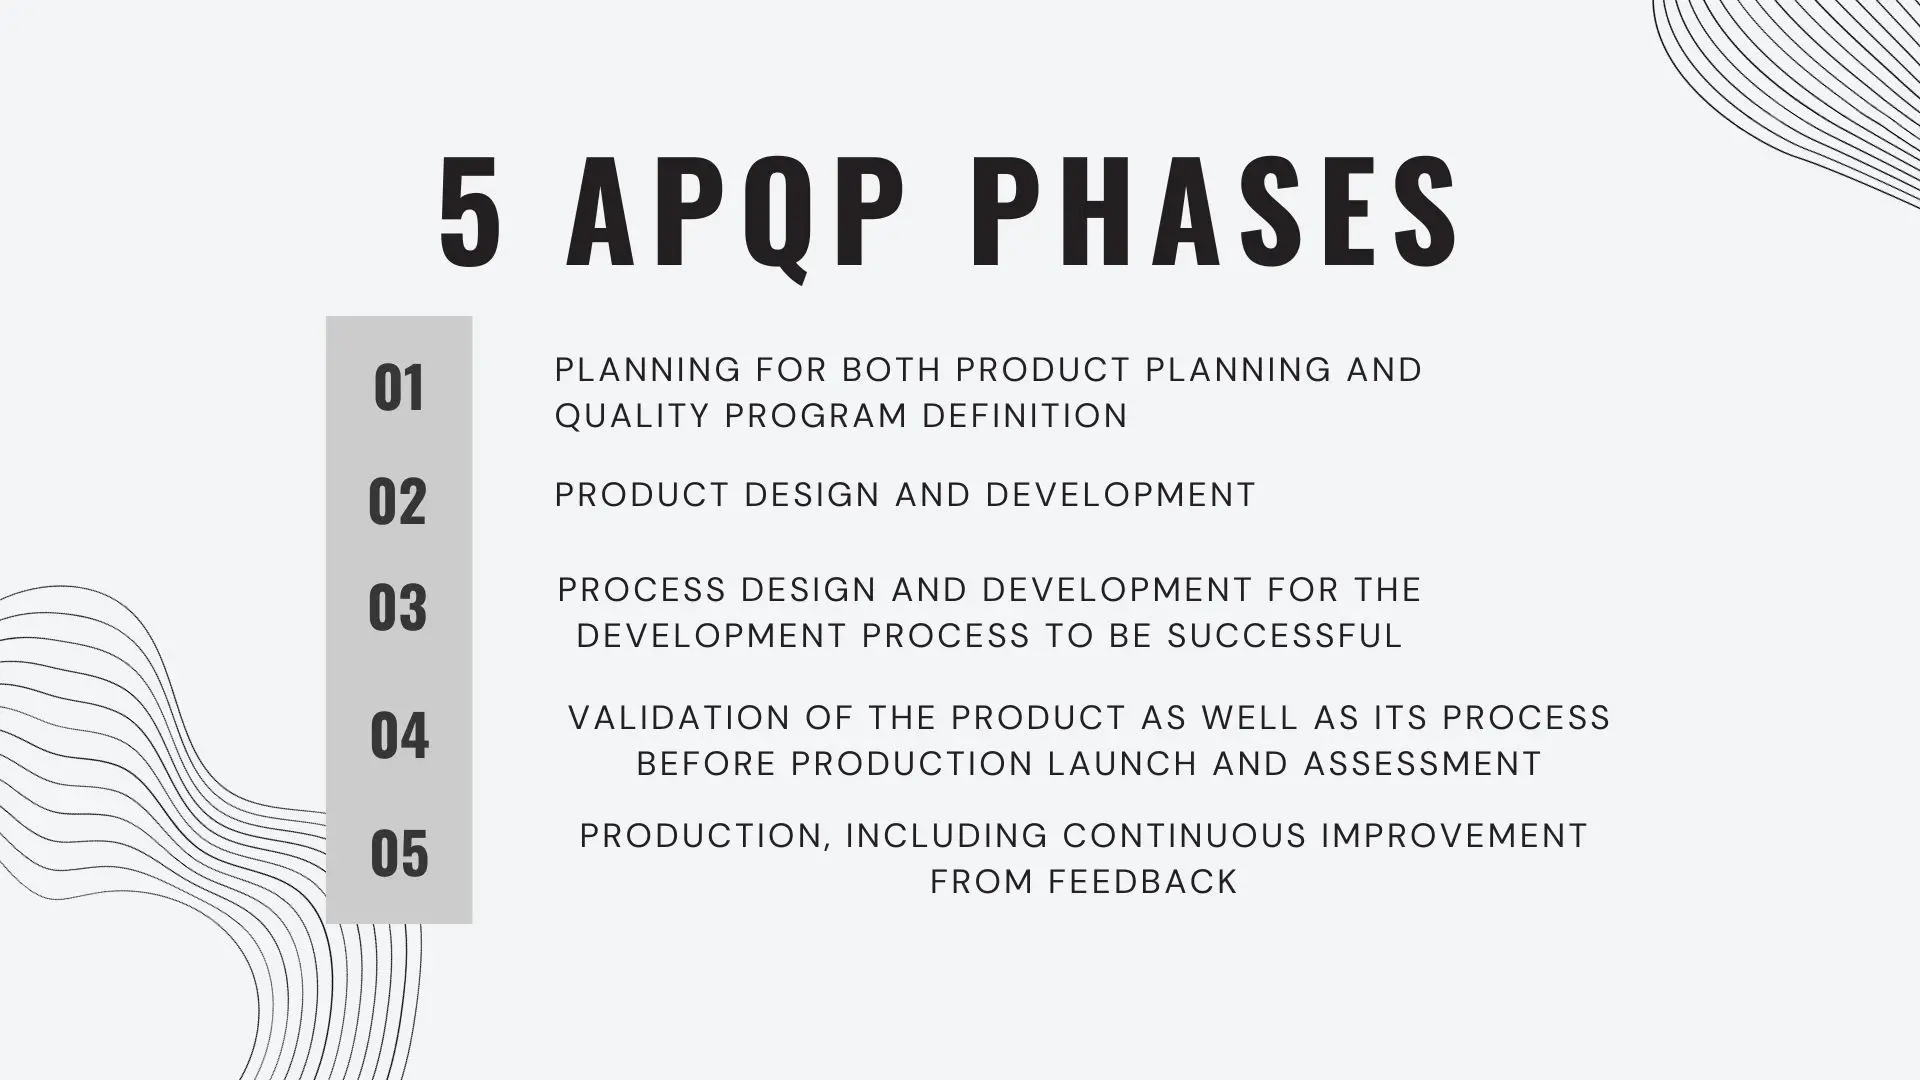
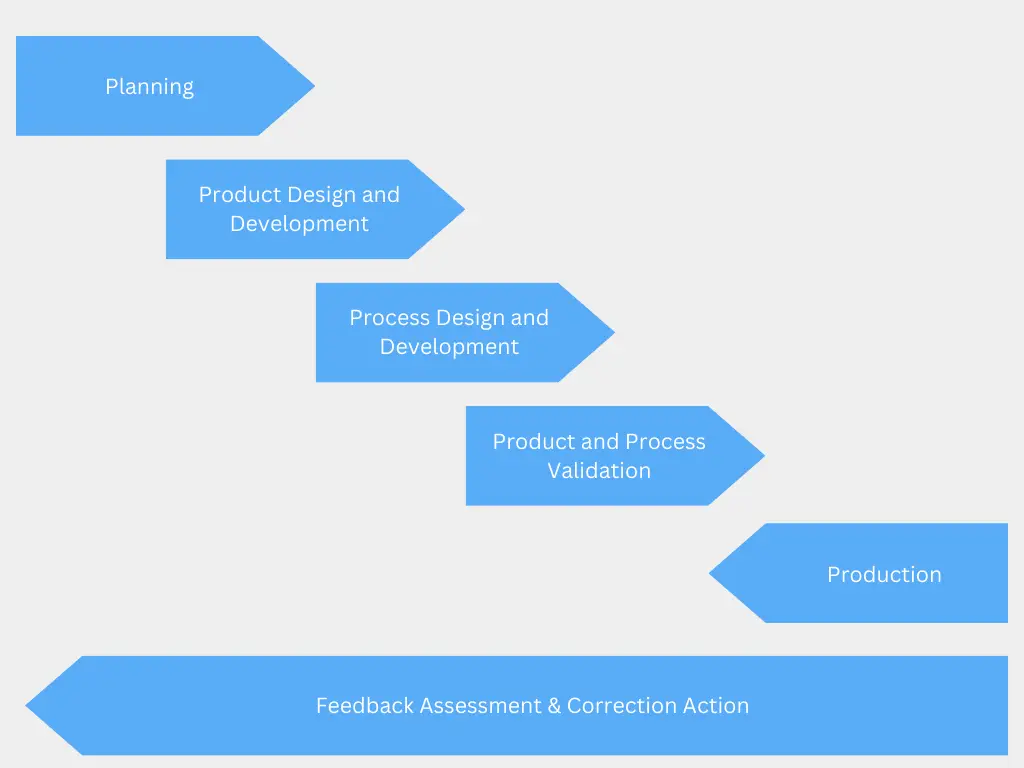
What are the 5 Phases of APQP?
September 8, 2023A quick guide to the steps involved in the Advanced Product Quality Planning process.
AS9102 First Article Inspection Report Rev B vs Rev C
July 14, 2023AS9102 First Article Inspection Report – A Side-by-Side Comparison of Rev B to Rev C.
What is APQP? Advanced Product Quality Planning Guide
June 30, 2023Find out: What is Advanced Product Quality Planning (APQP)?
6 Signs You Are Outgrowing Your Excel or Paper-Based Quality Management System
April 16, 2021Many businesses transition from a go / no-go inspection procedure to an Excel-based or paper-based system for variable inspection because they recognize the value of capturing quality-related data.
Key Considerations When Selecting a Tool Calibration Software Solution
July 31, 2020Today, many companies manage their calibration records with an Excel file or Access database file. While these homegrown systems can be effective at maintaining calibration records, they miss out on several benefits that software solutions provide.
Machine Maintenance: A Critical Part of Quality
July 17, 2020Machine maintenance is frequently either overlooked or relegated to a maintenance department's pile of paper records. But proper maintenance is deeply important to ensuring the quality of a company's parts.
Challenging Times in the Aerospace Business
June 19, 2020These are genuinely difficult times, even for an industry that tends to go from boom to bust with nothing in between. Very few black swan events have impacted an industry in the same way that COVID-19 has affected the travel business and overall aerospace industry.
Rooting out Root Causes
May 29, 2020All too often, root cause analysis is treated as an ex post facto requirement when dispositioning a defect tag, completed only so that inspectors can show internal and external auditors that an issue has been taken care of. Rarely is the true root cause identified, and there is almost never a follow-up to make sure the implemented corrective action was actually effective.
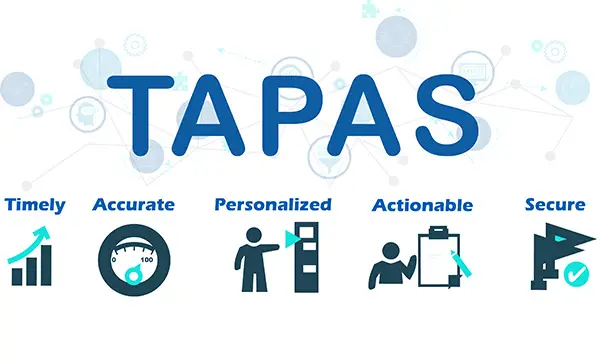
TAPAS (not the edible kind)
May 8, 2020The acronym "TAPAS" originated from a presentation to the leadership team responsible for the Joint Strike Fighter (F-35) that was provided during a visit to Washington, D.C. The presentation was about how to manage and best utilize the enormous amount of data they were receiving from many different sources.
Taguchi, Six Sigma, and Statistical Process Control
April 17, 2020With new technology in machine tools, it is possible to predictably manufacture components that are close to the nominal specification for every feature. This means that tolerances that are called out in the specifications can be significantly tightened.
Message from the founder of Net-Inspect
April 6, 2020First, I would like to sincerely thank all our wonderful customers and users around the world. Without their help and encouragement over the last 20 years, we would not have been able to achieve the global deployment of our software platform.
How Cloud-Based Applications Prosper during Epidemics and Other Natural Disasters
March 27, 2020Twenty-one years ago, Net-Inspect was launched as one of the first producers of cloud-based software in the world. Little did we realize at the time how valuable a fully decentralized platform would be during crises like the current pandemic.
Questions to Ask When Selecting an APQP Software Solution
March 6, 2020In late 2016, the International Aerospace Quality Group (IAQG) released a new standard, AS9145, communicating the requirements for Advanced Product Quality Planning (APQP) and the Production Part Approval Process (PPAP) for the aviation, space, and defense industries.
How to Best Prepare for an Enterprise Implementation of Net-Inspect
February 14, 2020Over the past few years, we have helped hundreds of companies-both large and small-adopt Net-Inspect as their end-to-end Supply Chain and Quality Management Software (QMS) solution.
The Value of a First Article Inspection (FAI) Report
January 24, 2020Aerospace is one of the few industries with a defined standard for First Article Inspection, so potential customers in other industries sometimes ask us, "What is the value of a FAI Report?"
The Key to Proper Root Cause Identification
January 10, 2020We regularly come across companies that are battling an unusually high volume of scrap and rework. They all have the desire to reduce or even eliminate scrap and rework, but they frequently do not know where to start.
Top 5 Reasons Companies Search for a Quality Management Software Solution
December 13, 2019We receive many inquiries each week about our comprehensive Quality Management Software (QMS) solution, and every company we speak to has different motivations for investigating the QMS options available in the marketplace. Here are the top five reasons that we hear from companies around the world.
Cyber Security in Your Supply Chain
November 5, 2019Starting in January 2020, the Department of Defense will roll out a new process for assessing the cyber hygiene of prime contractors. The assessment will be conducted using a new Cybersecurity Maturity Model Certification (CMMC) framework.
The Importance Of Standardizing & Retaining Measurement Technique
January 22, 2016Parts are frequently rejected because receiving inspection used a different technique and/or instruments and came up with different results than the final inspection of the supplier. If the method of measuring and the exact bubbled location on the drawing are not identified together with the measurement retained, this process becomes just an elaborate go or no-go inspection that cannot be duplicated by the receiving inspection of the customer.
6 Steps To Retaining Valuable Measurement Details
January 11, 2016Accurate and consistent measurement techniques may sound like an obvious requirement but these all too frequently compete with the need to ship and in many cases, take second place to a quick "go or no-go" inspection. The value in collecting accurate and consistent measurements and analyzing them in real time is an invaluable tool for not only process improvement, but also maintaining the improved process.
From Hot Rods To Airplanes: One Small Step For Precision, One Giant Leap For The Industry
January 9, 2016In the 1960s, a group of auto enthusiasts got together to find innovative ways to improve their hot rods. They did not have a lot of money so they had to work with stock products that came from the big three auto manufacturers. At that time, mass production at companies like General Motors and Ford were very erratic. Close enough was good enough. Sometimes you got a good engine and a good car. More often, you had a real lemon that had to be rebuilt after a few thousand miles.
How To Determine Your Suppliers' Capability
December 29, 2015Determining which of your suppliers are capable of producing quality parts can be a mere guessing game. What if you had the opportunity to analyze real data to help you select the appropriate supplier? Read on to find out how you can select the right supplier every time and improve the quality of their products.
7 Ways To Improve Supply Chain Quality
November 9, 2015With the increased pressure to reduce costs, more components than ever are being outsourced to sub-tiers for manufacturing. Even for the smallest parts in a complex assembly, there is a need for greater supply chain visibility and enforcement of quality requirements through to the sub-tiers. Learn how you can gain supply chain visibility and improve the quality of manufacturing through these 7 ways.


