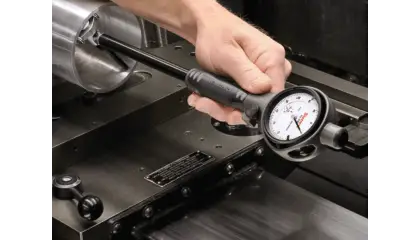
Inspection is a very complex process and can be very subjective, leading to significant disagreements on whether a part is acceptable or not. The fundamental question of what to inspect and how is further compounded with the wide variety of devices that are available for inspection. Even a simple hole can be inspected with a go or no-go pin, calipers, precision bore gauge or a CMM. Depending on the tolerance and the exact XYZ coordinates of the location, different results can be obtained.
Parts are frequently rejected because receiving inspection used a different technique and/or instruments and came up with different results than the final inspection of the supplier. If the method of measuring and the exact bubbled location on the drawing are not identified together with the measurement retained, this process becomes just an elaborate go or no-go inspection that cannot be duplicated by the receiving inspection of the customer.
A number of years ago within my own manufacturing company, I had a major shipment rejection by a large OEM. This shipment was about to be returned at a significant cost and would damage our quality ratings with the OEM. The parts were serialized and all measurements for all features were kept. We asked the  OEM to review our measurements online and sent them the measuring tools we used for the feature they felt was out of tolerance. When they measured the hole the same way we had measured the hole (a precision bore gauge) they came up with exactly the same results as we did. The OEM immediately accepted the $50,000 shipment and we avoided all the costs related to returning the parts and a lower supplier score that would have been impacted by an erroneous rejection.
If the supplier and the customer could agree on an inspection plan and a measurement method, then receiving inspection would be a simple matter of accessing the supplier's inspection plan and results and doing a sample over-inspect to confirm the overall validity of the measurements. The savings in inspection and re-inspection are significant when this process is extended throughout a complex supply chain.
Contact us learn more about Net-Inspect's solution that enables the ability for suppliers to capture specific results and tool information in relation to each part and share that information with their customers. The capture and retention of variable data can dramatically help prevent the costs associated with invalid rejections on both the supplier and customer’s side.

